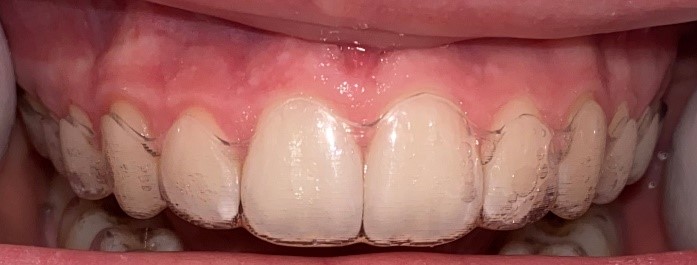
Photo 1
Spread cheeks as far apart as possible and part your teeth so the edges of each aligner can be seen. Take one photo of the upper teeth.
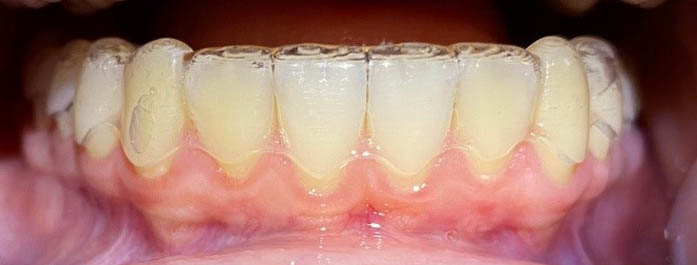
Photo 2
Spread cheeks as far apart as possible and part your teeth so the edges of each aligner can be seen. Take one photo of the lower teeth.
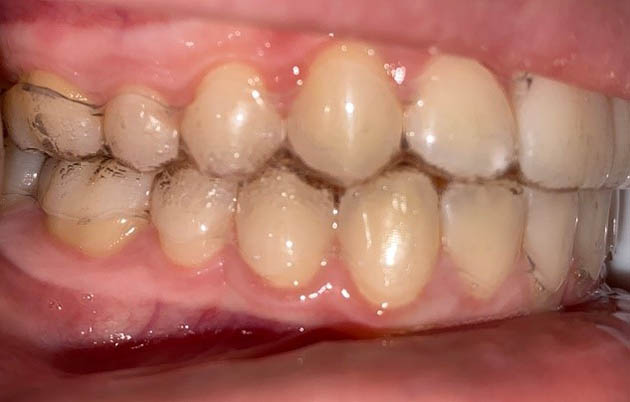
Photo 3
Pull cheeks back on the right side as far as possible and bite down. Take photo perpendicular to your back teeth (molars). We want to see where the back teeth are biting together as straight as you can get from the side. If your cheeks are tight we may not see the last molars.
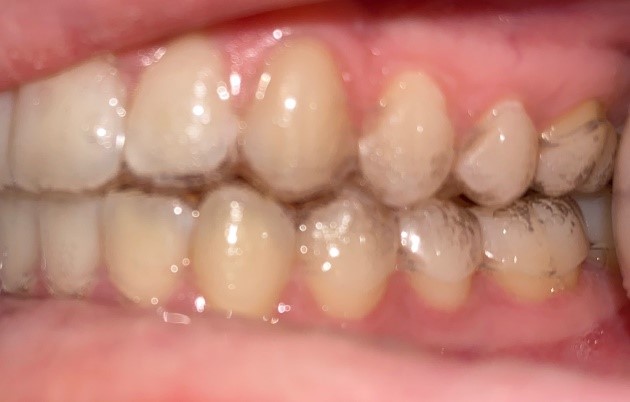
Photo 4
Pull cheeks back on the left side as far as possible and bite down. Take photo perpendicular to your back teeth (molars). We want to see where the back teeth are biting together as straight as you can get from the side. If your cheeks are tight we may not see the last molars.